Needle felting is a fascinating craft that transforms loose wool fibers into three-dimensional sculptures through the magic of barbed needles. Creating a realistic cat with this technique requires patience, attention to detail, and the right materials.
Introduction to Needle Felting
Needle felting is the art of sculpting wool fibers using special barbed needles that tangle and compact the fibers when repeatedly poked. Unlike traditional felting that uses water and soap, needle felting is a dry process that allows for incredible precision in creating three-dimensional forms. This makes it perfect for crafting realistic animal figures like cats, where fine details in fur texture, facial features, and body proportions are essential.
The beauty of needle felting lies in its simplicity - you don't need sewing skills, wire armatures, or stuffing. With just wool, needles, and a foam pad, you can create stunning sculptures that capture the essence of your subject. For cat lovers, this means being able to immortalize a beloved pet or create charming feline art pieces.
How to Needle Felt a Realistic Cat
This guide walks you through the materials, techniques, and finishing tips to create your own woolly feline masterpiece.
Gathering Your Materials
Before beginning your needle felted cat project, you'll need to assemble the right tools and materials:
Wool: For sculptural felting, wool batting works better than wool roving as it holds shape more effectively. Norwegian C1 felting batts are an excellent choice for creating the main body of your cat. You'll want a base color that matches your cat's primary coat color, plus additional colors for markings, patterns, and details.
Felting Needles: Different needle sizes serve various purposes:
- 40 triangle needle: Best for all-purpose sculpting and shaping the main form
- 38 star needle: Ideal for fine details and finishing work
- 36 triangle needle: Excellent for attaching parts like ears, legs, and tail
Felting Surface: A dense foam felting pad protects your work surface and provides resistance needed for effective felting.
Additional Tools (optional but helpful):
- Paper sticks or wooden skewers for blending colors
- Strong sewing needle for attaching whiskers
- Sharp embroidery scissors for trimming excess fibers
- Wire armature (for larger sculptures needing internal support)
Creating the Basic Cat Form
Step 1: Forming the Body Core
Start by preparing your wool batting. Tear off small sheets about the size of your hand. Stack 4-5 sheets and roll them tightly into an oval shape while compressing as much air out as possible. This will form the basic torso of your cat.
Place this wool bundle on your felting pad and begin jabbing with your 40 triangle needle. Work methodically, turning the shape frequently to ensure even felting. Continue until the wool holds its shape firmly when you let go. This may take several minutes of consistent needling.
Step 2: Adding the Head
Create a smaller oval for the head using the same technique. Once felted to a firm consistency, attach it to the body by needling at the connection point with your 36 triangle needle. Add small tufts of wool to blend the seam until the transition looks natural.
Step 3: Shaping Limbs and Tail
For legs, roll thin sausages of wool and needle them until firm. Attach them to the body, building up muscle definition by adding small amounts of wool where needed. The tail can be made similarly but left more flexible for a natural look.
Adding Realistic Details
Facial Features:
Eyes: Create small balls of colored wool for the iris, surrounded by a thin ring of white. Needle them firmly into place. For added realism, using glass or plastic cat eyes that can be inserted into the felted head.
Nose: Form a small triangle from pink or black wool and needle it into place between the eyes. Add subtle shading around the nose for dimension.
Whiskers: Use stiff fishing line or actual cat whiskers (if available) inserted into small holes made with a needle. Secure with a tiny dab of glue if needed.
Fur Texture:
To create realistic fur, use the "flicking" technique with your 38 star needle. Gently pull small tufts of wool outward from the body and needle just the base to secure while leaving the ends free. Work in the direction of natural fur growth.
Color Blending:
Layer different colored wools to create tabby stripes, calico patches, or other markings. Use a stabbing motion with your needle to blend the edges where colors meet.
Why PetDecorArt Makes It Easier
If you’d rather leave the creation to experts—or just want a high-end finished piece—PetDecorArt offers stunning custom needle-felted cat sculptures.
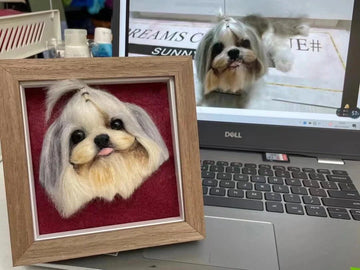
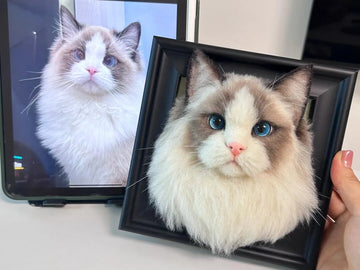
Custom 3D Wool Needle Felt Pet Portraits
- Framed pet head sculptures crafted in premium wool, glass eyes, and resin details, delivered in a handcrafted wooden frame.
- Full‑body portraits: capture your cat from paws to tail, with accurate posture and lifelike expression.

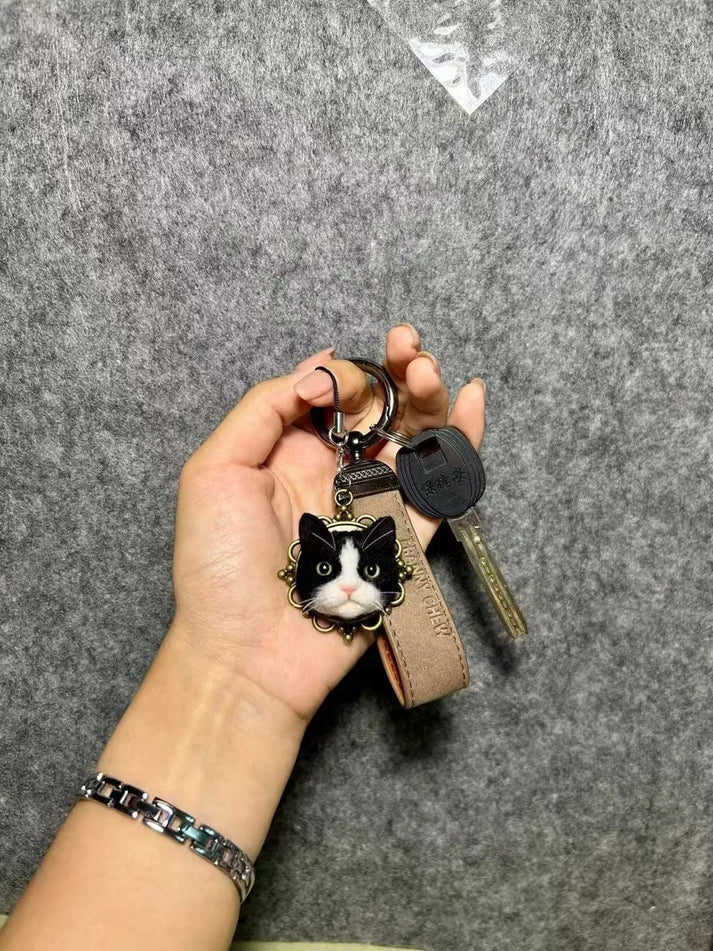
Miniatures & Accessories
- Mini keychains/bag charms: portable wool sculptures you can take anywhere.
- Car ornaments: adorable feline companions to hang from your rearview mirror.
- Brooches, plush figures, bird/hamster wool sculptures—PetDecorArt offers a full line of felted pet gifts.
Bringing It All Together
Needle felting a realistic cat is a nuanced workflow of shaping, detailing, layering, and refining. Each stage demands time and gentle touch. Whether you craft it yourself—creating a treasured deposit of patience—or commission a gallery-quality sculpture from PetDecorArt, the result is a heartwarming tribute to your feline companion.
Happy felting—and may your next poke bring you ever closer to a precise whisker or a soulful wool‑eye.